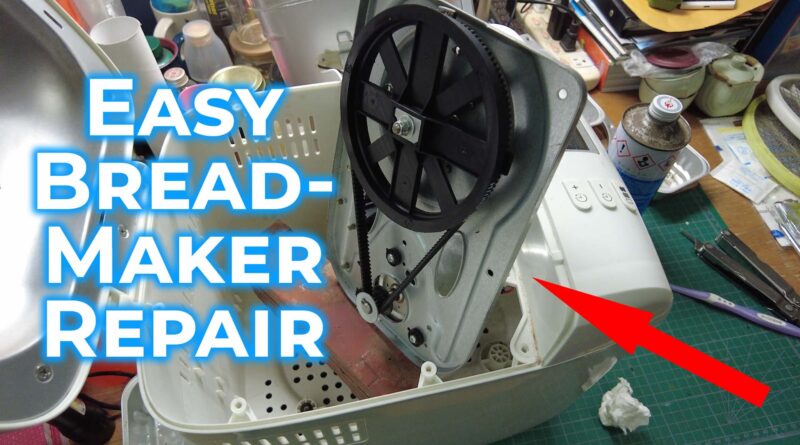
Easy Bread Maker Repair
My wife’s bread maker started behaving weirdly one day while making a batch of bread. The mixing blade would turn and then sometimes stop. After a few minutes, it refused to move and would just twitch at the bottom of the mixing pan. You could hear the motor spinning, but the blade would not turn. It turns out the drive belt was broken. I easily repaired the bread maker by replacing this drive belt.

Philips HD9016

I checked the model number for this particular bread maker. It was a Philips HD9016 / 31 bread maker. I think they sell this particular model only in Asia. It looks very similar to the Philips HD9015 bread maker, so this fix will probably work for that version as well.
Opening the Bread Maker

First set of screws to come off.
The first thing to do was to open up the unit. The only accessible screws I found were on top after opening the lid.

Next were the screws securing the inner liner to the bottom of the base.

After the inner liner, which contains the heating coils that bake the bread, was removed I could see bits of rubber and strands of cord. This was the remains of the belt that connected the motor to the mixer.
Broken Drive Belt

Unscrewing the base from the plastic shell revealed the full extent of the damage from the broken belt. A big gooey mess! The old bits of rubber were sticking everywhere and the reinforcing threads of the old belt were wound up over the motor and mixing pullies.
Getting a Replacement Drive Belt

Since we’ve had this bread maker for a few years, I didn’t have high hopes of finding a replacement belt. A search online, however, turned up a number of places that sold this part. I found someone locally here in Taiwan who was selling this and placed an order. The total cost plus shipping was around US$5.

A few days later the new belt arrived. I put what remained of the old belt beside the new one as a comparison.
Installing the New Drive Belt

The new belt went on pretty straightforward. It took a little jostling, but everything seemed to align.

While reinstalling the base plate, I accidentally knocked the control panel off. This actually made retightening the screws much easier since it no longer blocked my hand.
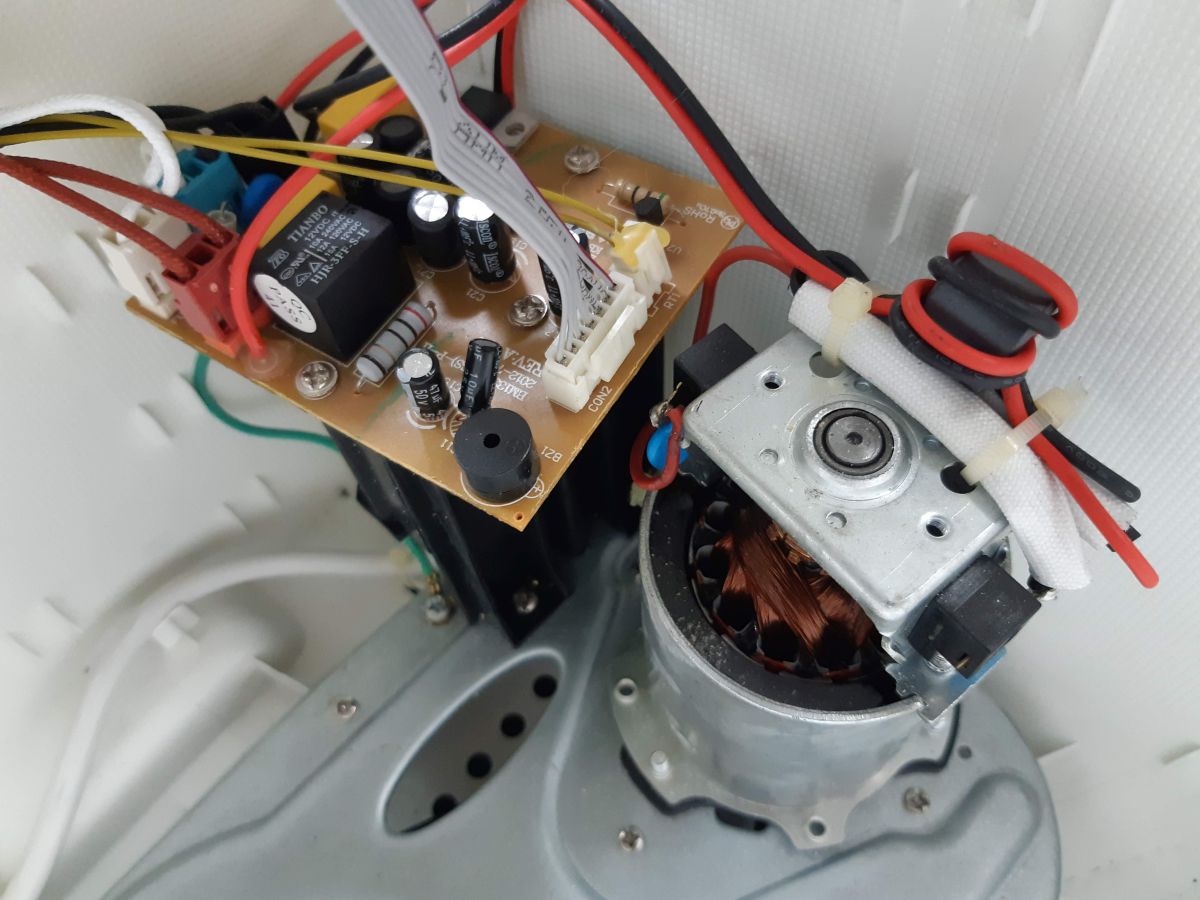
Here’s a close-up of the motor and control electronics.

When reattaching the control panel, be sure to reattach all the connections to the control electronics.
After buttoning everything up, the bread maker started working like normal again! Another household appliance was saved from the landfill!
Watch the Video!
Watch the video for more details of this fix!