3D-Printed Drain Adapter 2.0
Five years ago I made a drain adapter that connected my washing machine and a spin dryer to a drain in the floor. I 3D-printed it out of PLA and it was my second ever 3D printed project. This adapter recently broke so I went about making a new and improved version.
Broken Drain Adapter

Here’s the original drain adapter all busted up. Water flooded the floor again whenever doing laundry. This part was too busted up for a simple fix. Time for a new adapter!

Design Requirements
On my wish list for a new adapter was:
- Thicker walls, so it wouldn’t split apart.
- A higher lip so water wouldn’t spill over the top.
- Legs to prevent the adapter from tipping over in the drain.

After taking measurements of the old adapter, I came up with a design in Fusion 360. In this design, I set the holes opposite one another so the weight of the hoses would balance out and not pull the adapter to any one side. This was a particularly annoying problem with the previous adapter.
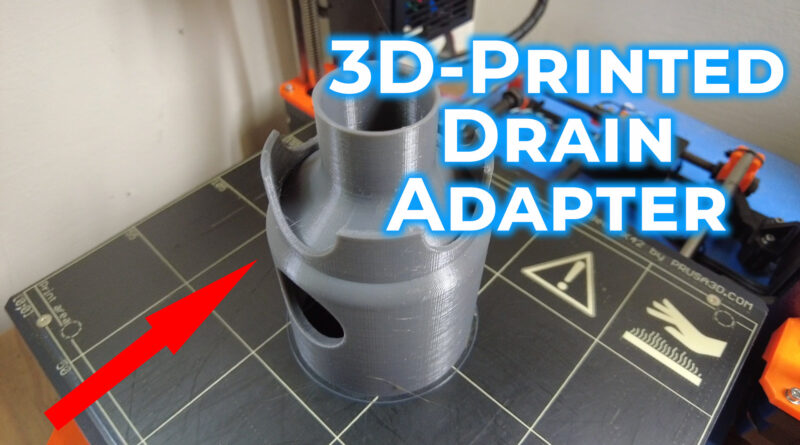
3D Printing

After exporting and slicing the design, it was on to my trusty Prusa printer. About eight and a half hours later, I had my part.

The print came out nice, as usual. I’ve had nothing but a great experience using my Prusa i3 Mk2 printer.

Here’s a side-by-side comparison of the old adapter and the new one. Note the beefier walls and higher top. Hopefully, this new one will last a decade!

Bottom view of the adapters.
Installation

On the first adapter, I spent quite a bit of time filing to make the holes big enough to fit the hoses. This time, they fitted perfectly on the new one.
Some Adjustments

I ended up cutting off the legs on the new adapter. They prevented the adapter from going far enough into the drain.

With the legs cut off, the adapter fitted perfectly into the drain. An initial test with a load of laundry, though, had water splash up over the top. It wasn’t a lot, but some water was splashing out. What to do? Make a lid!

The lid to go on top.

The finished drain adapter! Another load of laundry later and no water leakage!
Watch the Video!
Watch the creation of this adapter in more detail in the video below!