Ant Farm 2.0: The Build
A few days ago, as luck would have it, a flying ant landed on my desk as I was typing away at the computer. A flying ant usually means it’s a queen ant on her nuptial flight out to form a new colony. A number of years back I made a simple ant farm out of an old nut container and got quite a few views on the ensuing YouTube videos. It was quite a fun project and I’ve always wanted to make another one but just never got around to doing it. Well, when a queen ant literally landed in front of me, I knew I couldn’t pass up the opportunity!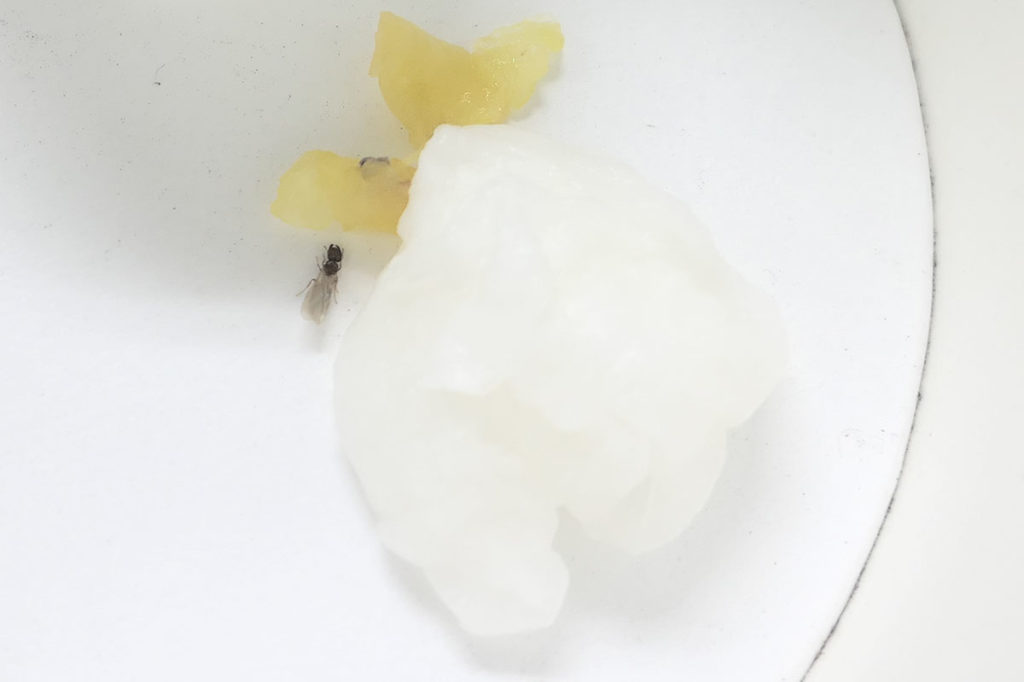
I put the ant into a container with a moisten tissue and some pineapple and started planning how to go about making my Ant Farm 2.0.
The next day, I went about gathering supplies. I figured I’d make it along the same lines of my last ant farm, but this one would be simpler and easier to put together. I’d use a plastic container with a smaller glass jar placed inside to force the ant to build its nest along the sides of the container so I can see the action and I’d use fine grain sand to fill the ant farm. Fine grain sand would be easy for the ant to dig and it’d be easy to see the tunnels dug.
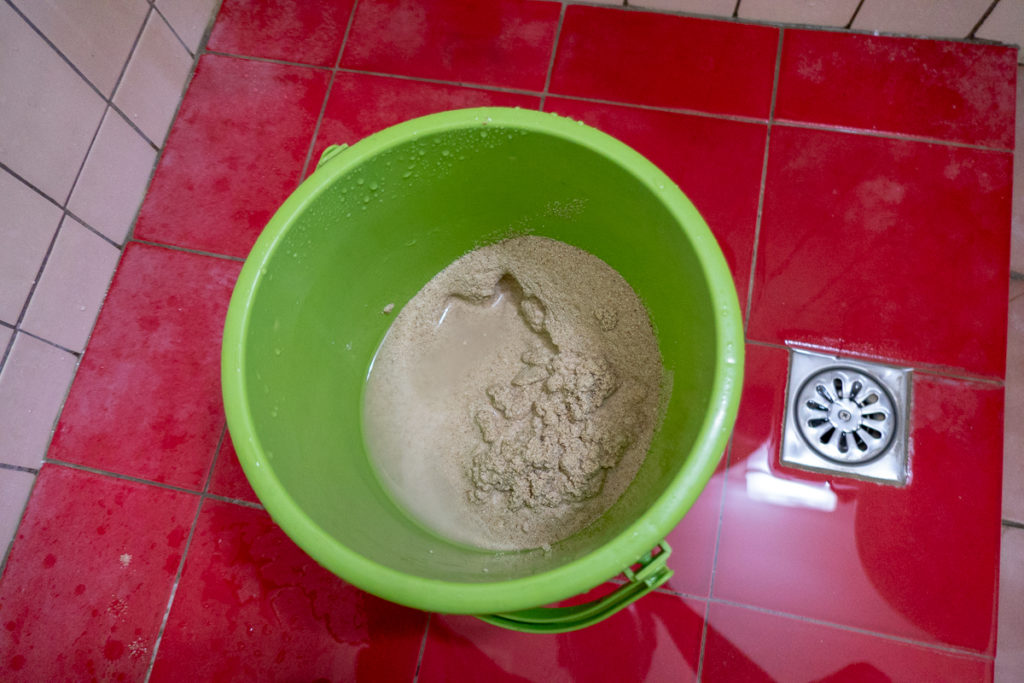
I picked up some sand at an aquarium store for around $5. I took it home and washed it to clean it. This sand must have been dirty, because I washed it like 20 times and the water never became clear. It wasn’t quite as murky near the end, but there seemed to be something still in it.
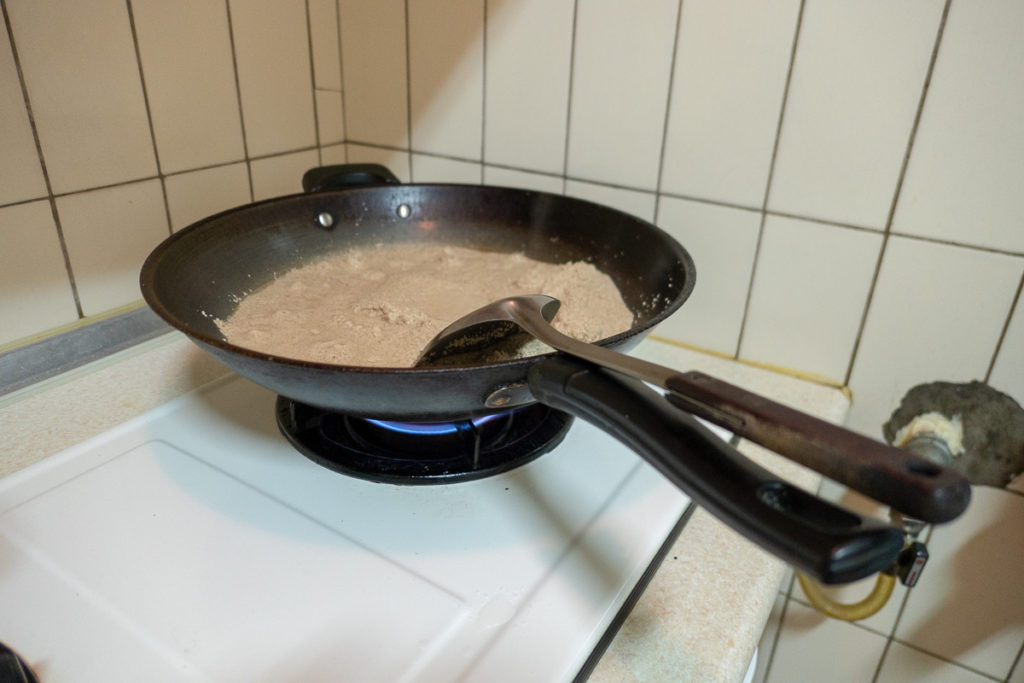
I then cooked the sand in a wok to dry and sterilize it. During some research on the Internet, I read folks recommend sterilizing the ant farm medium to prevent any bacteria or parasites like mites from affecting your ants.
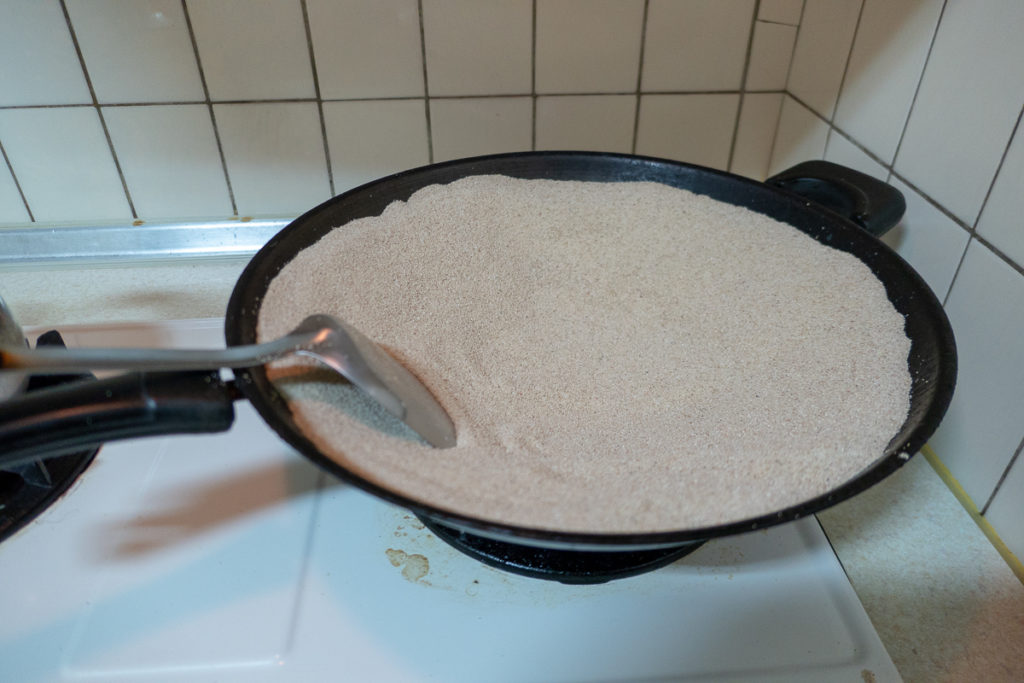
After stir-frying for nearly 15 minutes, the sand was hot and dry. I let it cool on the stove while I went to work on the actual container that will house everything.
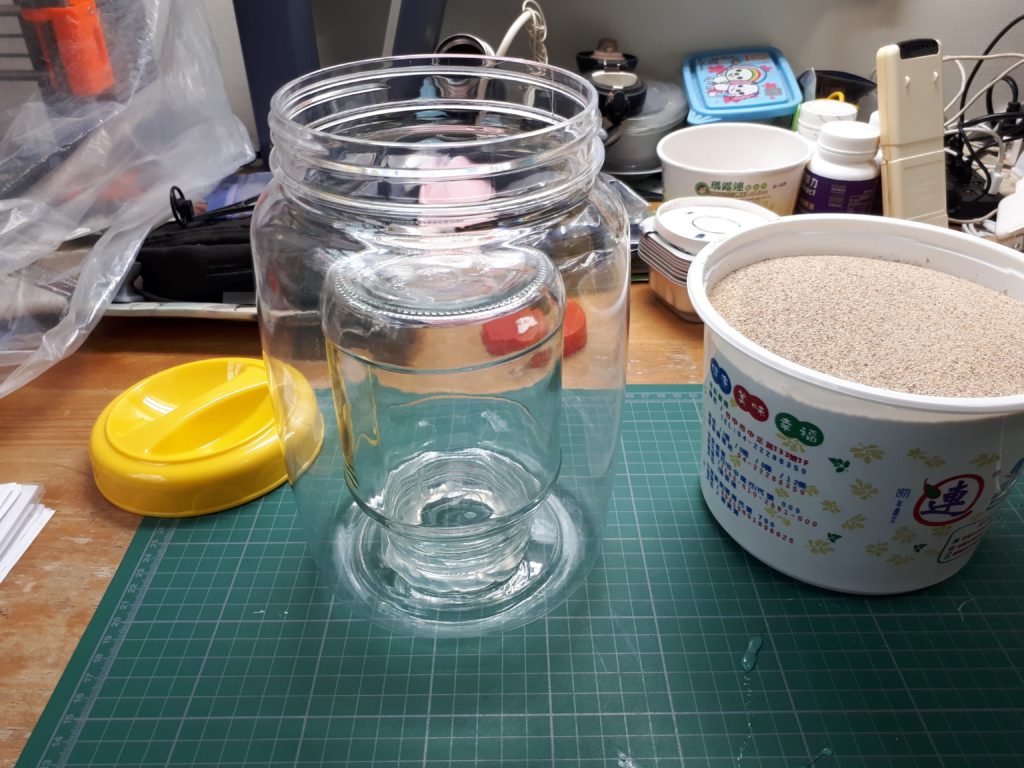
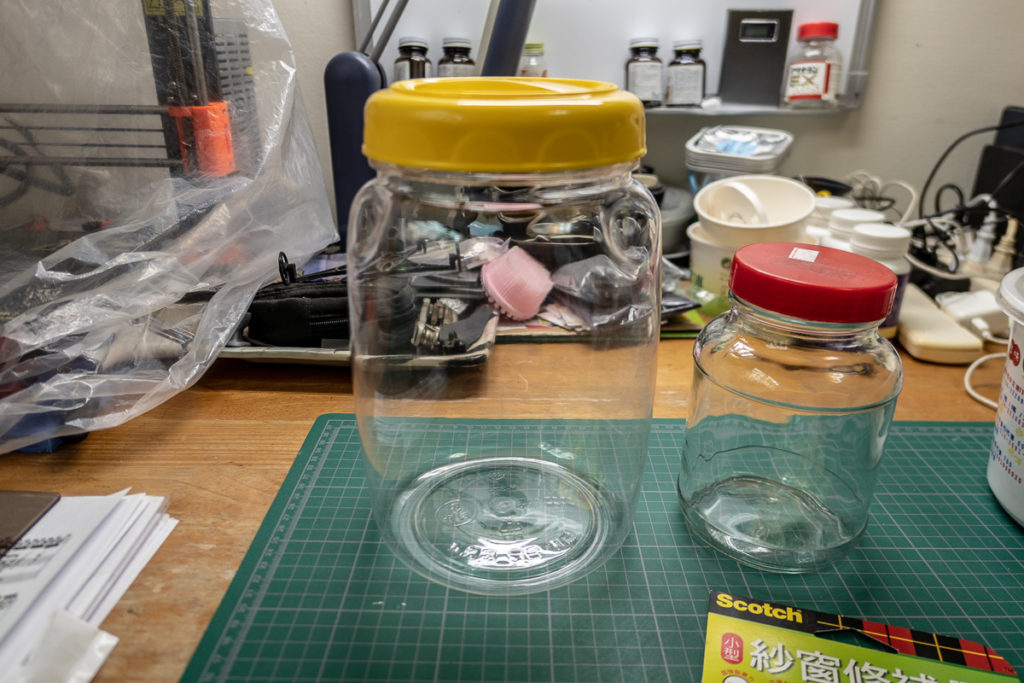
I picked up a sturdy plastic container at a hardware store for about $3 and found an unused glass jar lying around the house.
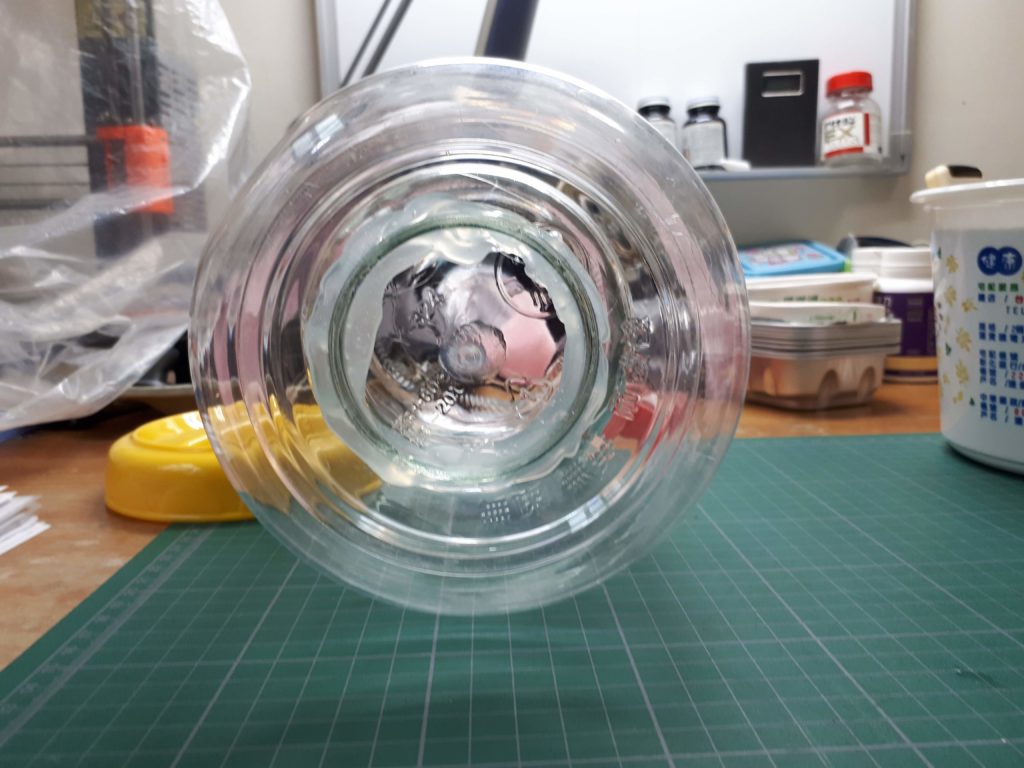
Using my trusty hot glue gun, I attached the jar with its bottom facing up to the bottom of the larger plastic container.
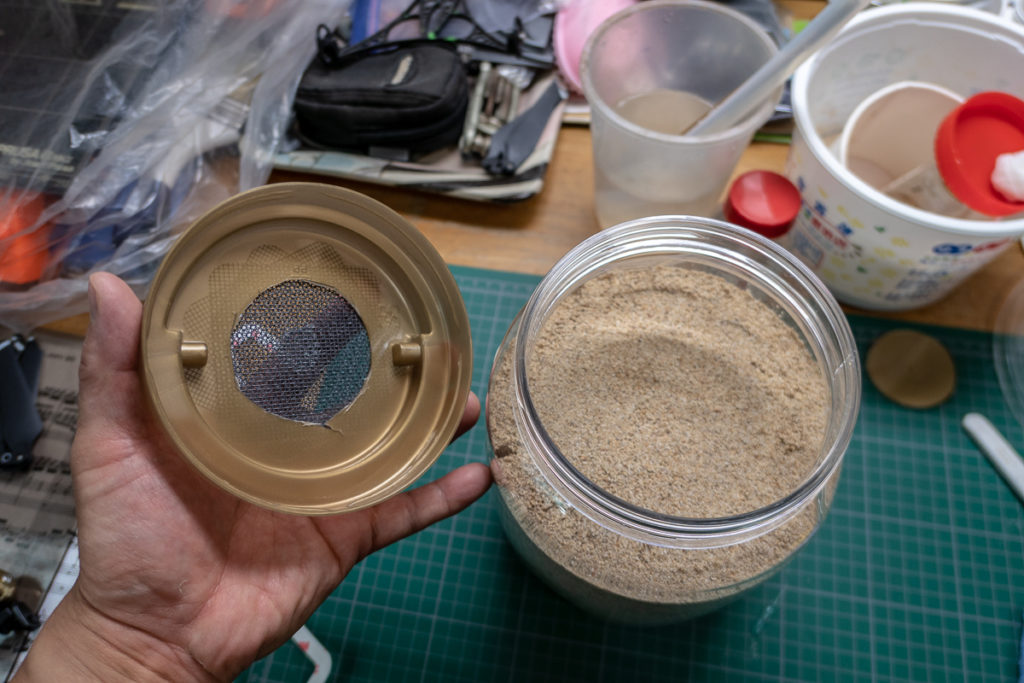
After cutting a hole in the lid, I patched over it with some screen window patches to create a mesh to prevent the ant from escaping. This should provide adequate air flow to the ant.
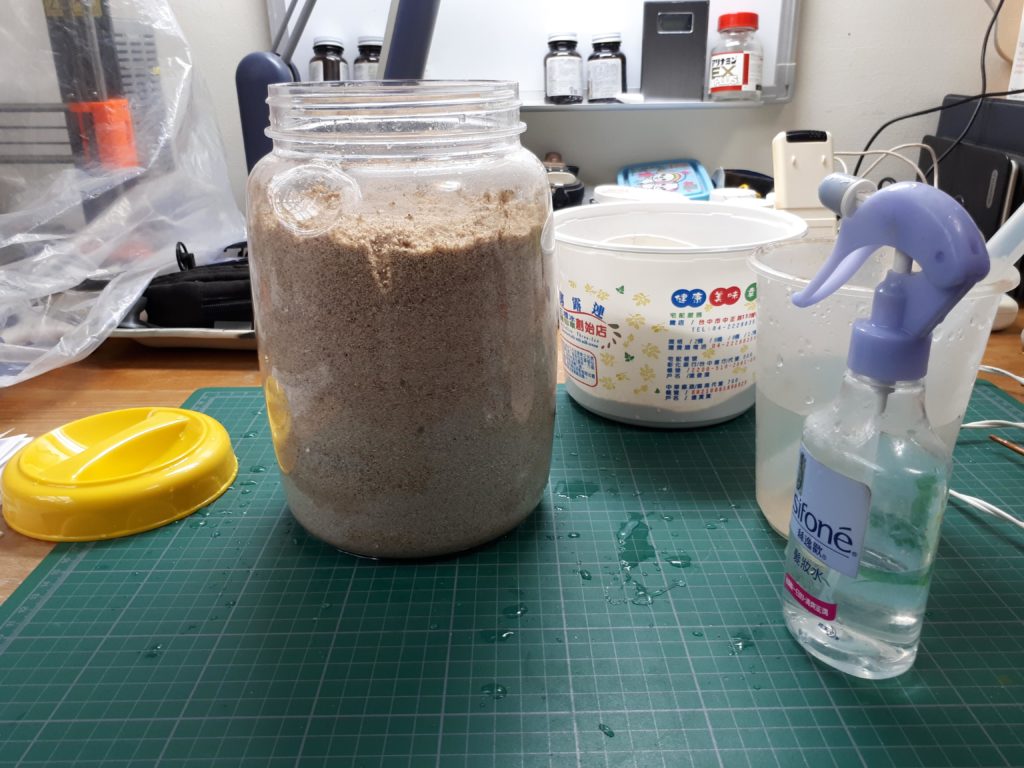
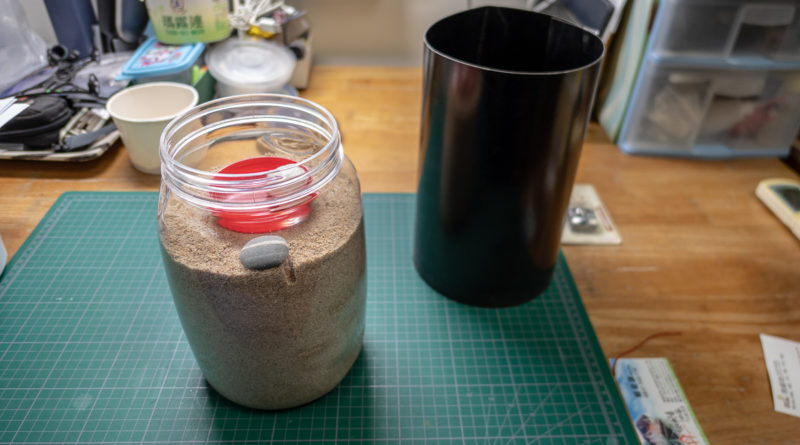
By this time I also added the sand to the container, moistening it with a little water along the way.
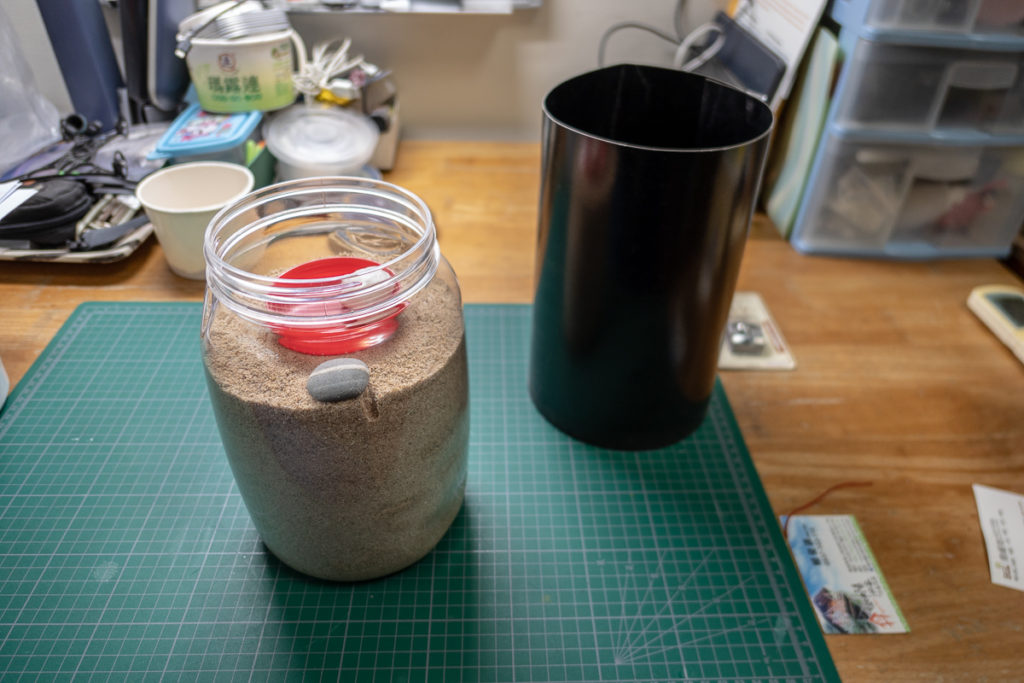
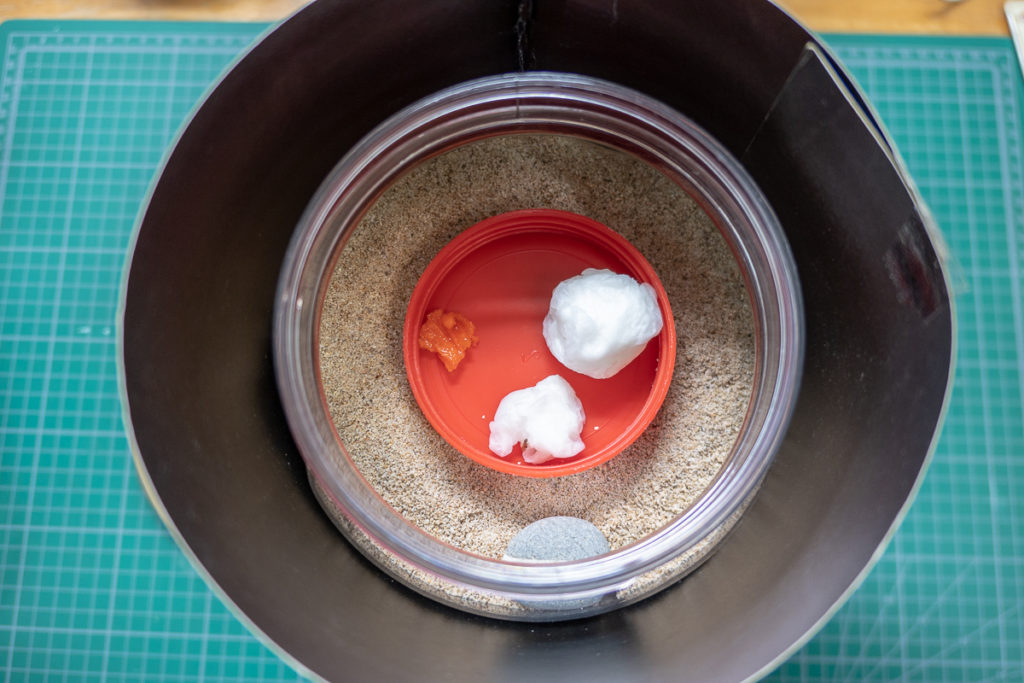
I poked a little hole near the side of the container to encourage the ant to start burrowing there and placed a small lid with a moistened tissue and some papaya for food. I then used black construction paper to make a sleeve that wraps around the entire container so as to keep things dark and encourage the ant to dig.
After putting everything together, I placed the ant in! Now we’ll just see how she settles into her new home!