Fix a Loose Doorknob with 3D Printing!
Our apartment is pretty old, and with old things, stuff sometimes just starts coming apart. The doorknob on one of our doors, for example, took quite a bit of wear and tear and came loose. What a perfect project to use a 3D printer to fix!
Loose Doorknob Problem
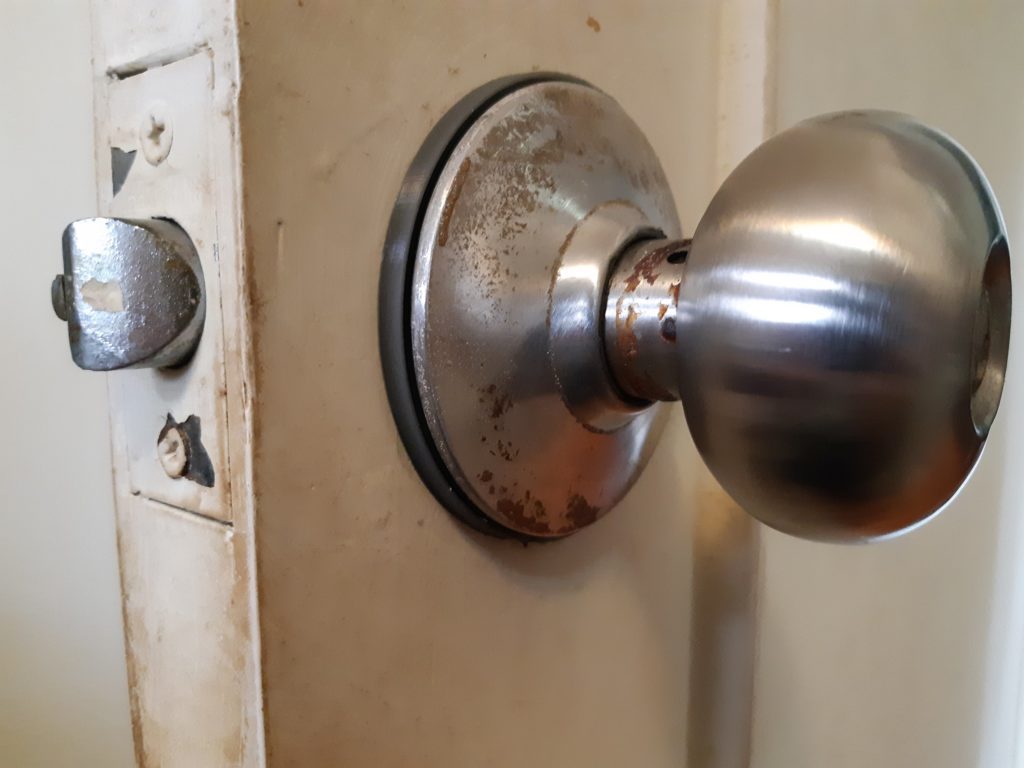
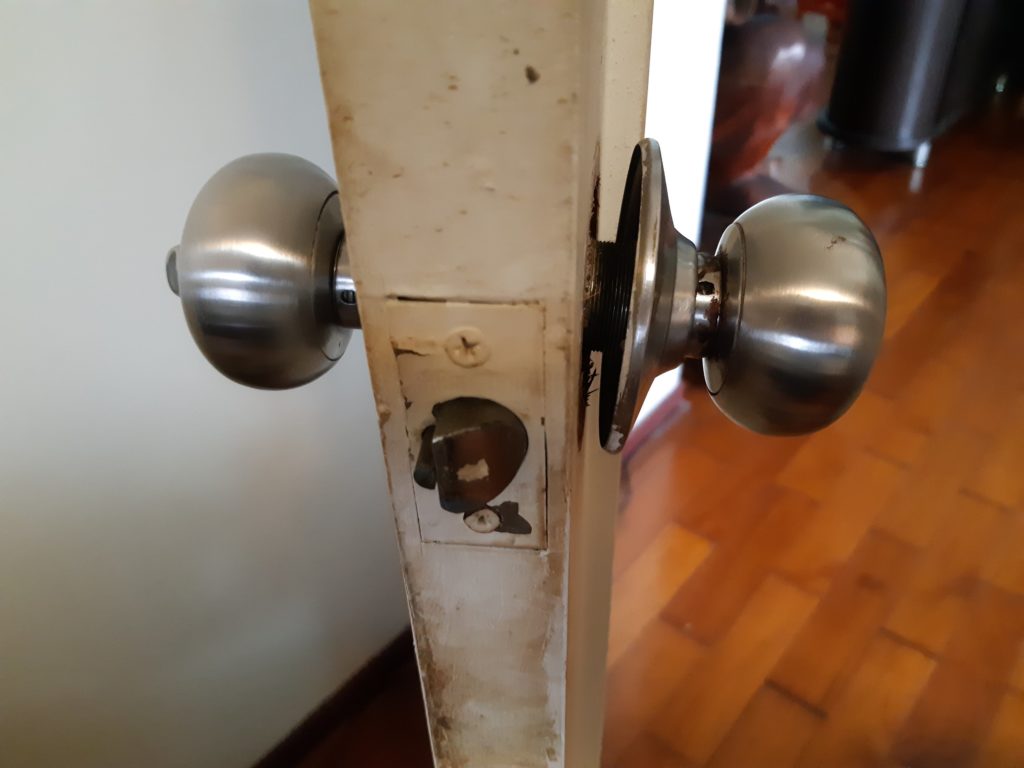
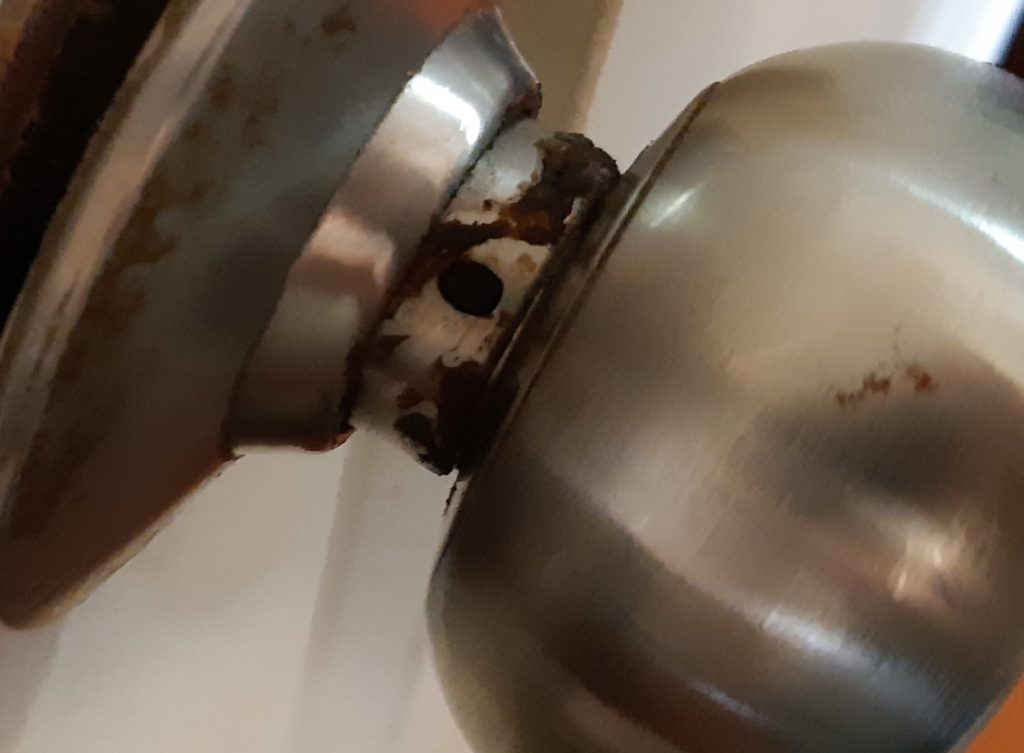
The flange on the right screws onto threads on the inside of the doorknob assembly. When tightened down, the flange should firmly press against the door to secure everything. I tried tightening it down as far is it could go but for some reason, there was still a slight gap between it and the door. The result was a wobbly loose doorknob. Very annoying. A washer-like shim would totally solve this problem!
Normally, you’d be able to remove the doorknob by pressing in on some recessed tabs and pulling the knob off. But this knob has quite a bit of rust on it and it just wouldn’t budge. If the knob couldn’t come off, neither could the flange. In order to get the shim behind the flange, it had to be assembled behind it. I figured an O-ring that can be snapped together would do the trick.
A 3D Printed Solution!
After taking some measurements, I whipped something up in Fusion 360 and came up with the design below.
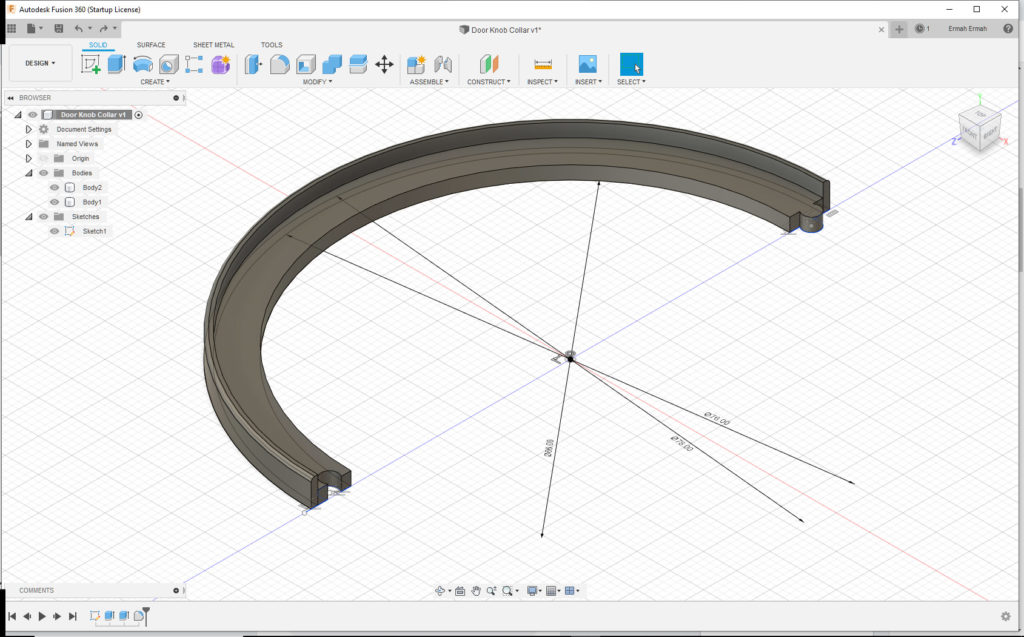
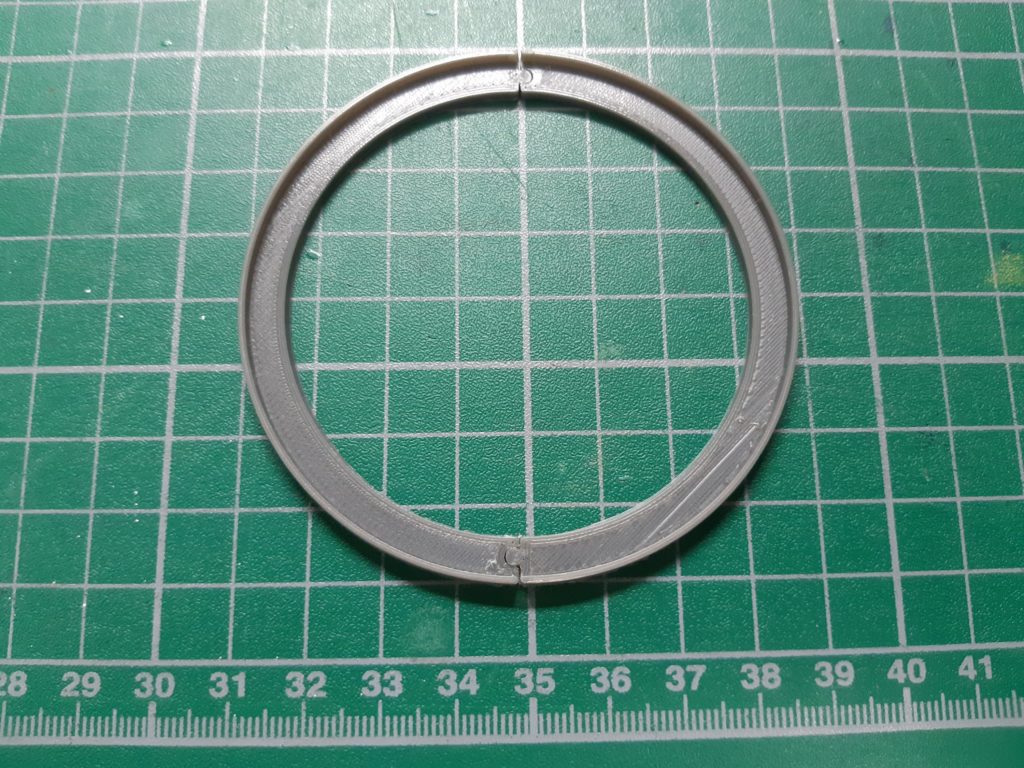
The part was designed to be printed twice and snapped together to make an O-ring. Thirty minutes later on the ole trusty Prusa Mk2 3D printer, we had printed parts!

There were some slight tolerance issues, but after a little filing, everything snapped together just fine. For those who want it, you can download the files for this on Thingiverse here.
Installation and Testing
Next was to install on the door! After assembling it behind the flange, a little bit of superglue was used to hold the two halves together.

After tightening down the flange against the shim, the doorknob now is tight and secure on the door! No more annoying wobble!