
Windowsill Water Garden: Part 2 – The Build
I’m currently building a little windowsill water garden. I wrote about the origins and thinking behind the design for this neat little DIY project in a post here. Here I describe how the build went.
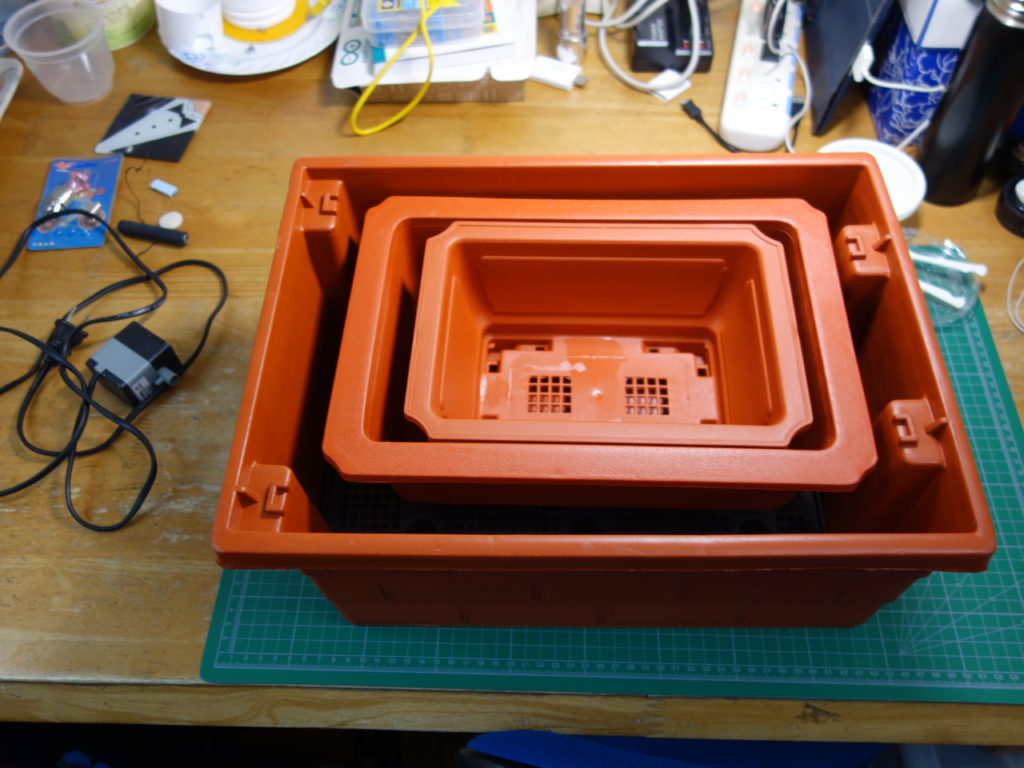
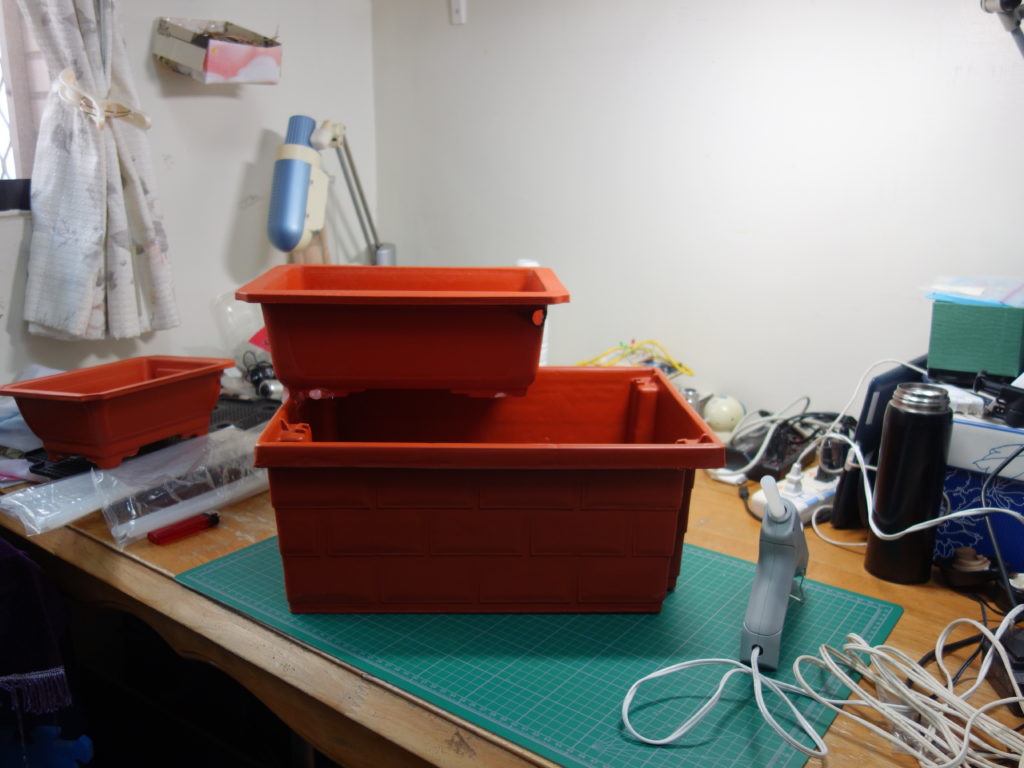
The idea is to stack three successively smaller rectangular potting containers one upon the other and pump water into the top one so it flows down in a cascade. This hopefully will give a babbling brook sound and help aerate the water to prevent algae growth and keep mosquitoes from breeding in it. I’ll be using a small fish aquarium water pump to move the water from the lowest container to the top one.
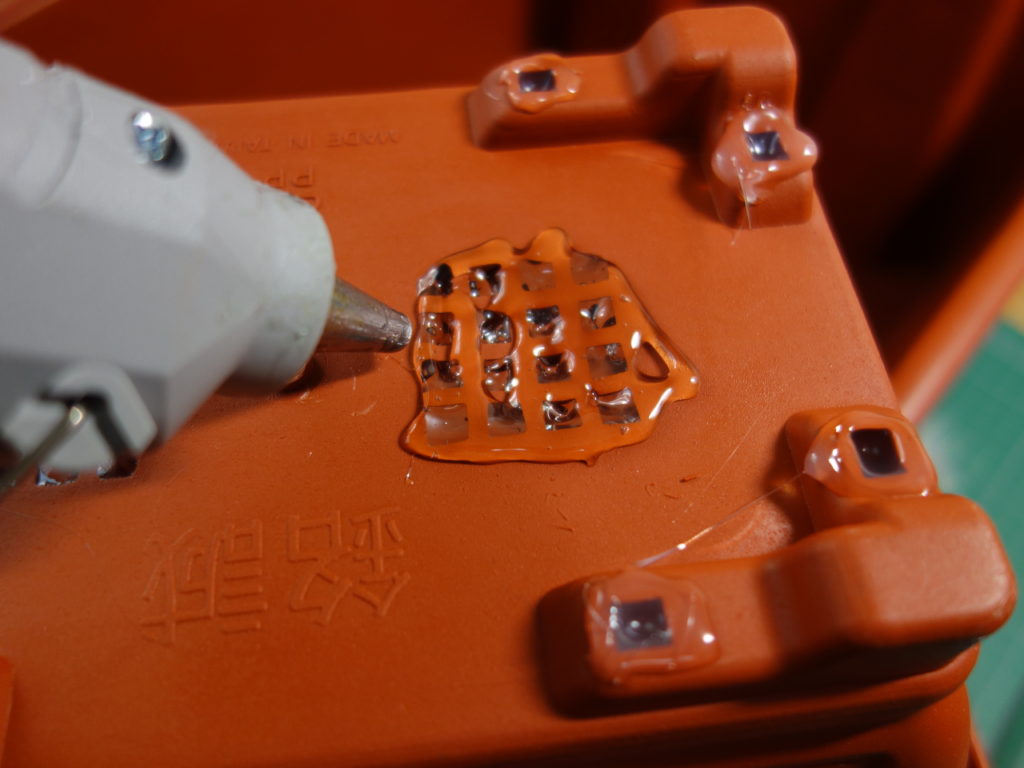
The potting containers all have drainage holes, so the first step was to plug them. As usual, I busted out my trusty hot glue gun for the task.
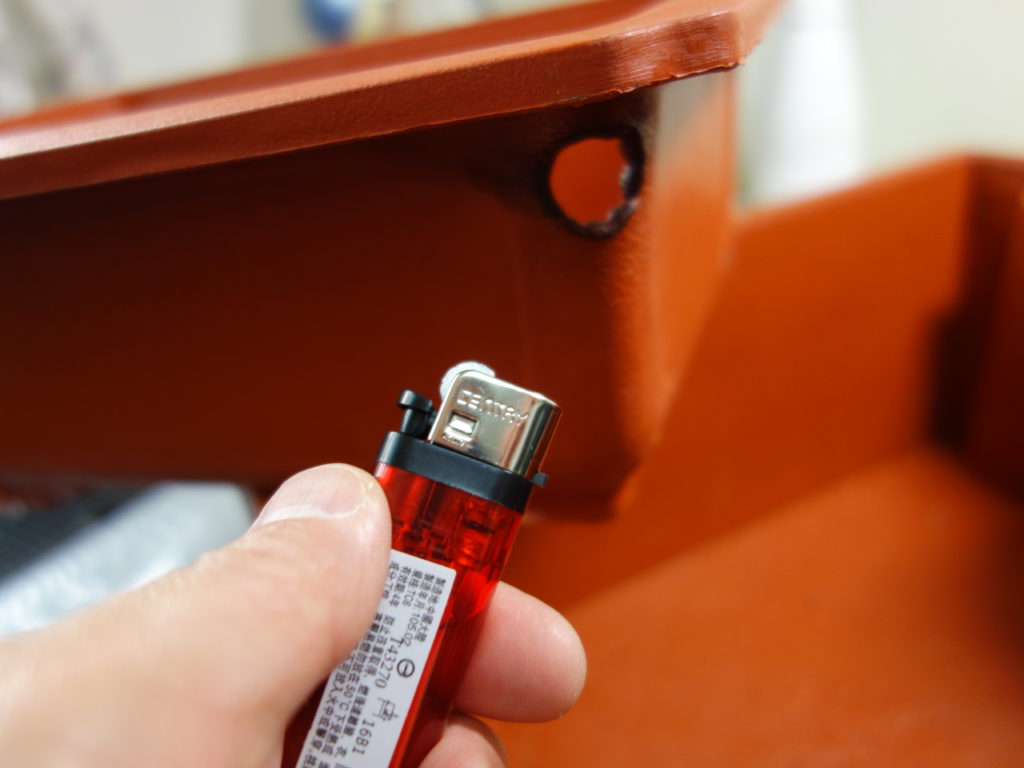
Next, using an electric drill, I drilled holes for the water to flow out of and where to feed the water tube from the pump. Since this left rough edges, I used the flame from a lighter to soften and smooth them out. Be careful of the hot plastic! It’s very sticky and extremely hot and will burn you like the dickens if you’re not careful!
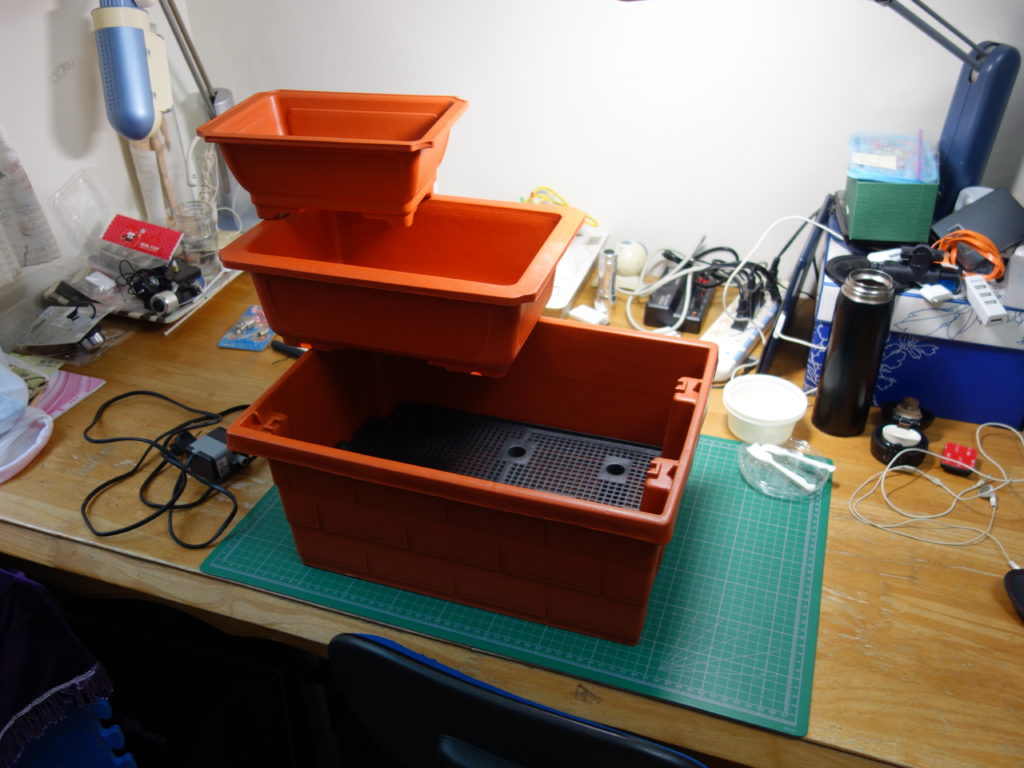
Will the necessary holes drilled and smoothed, the containers were stacked on each other with hot glue. Hot glue (and duct tape) truly are a makeshift engineer’s friend!
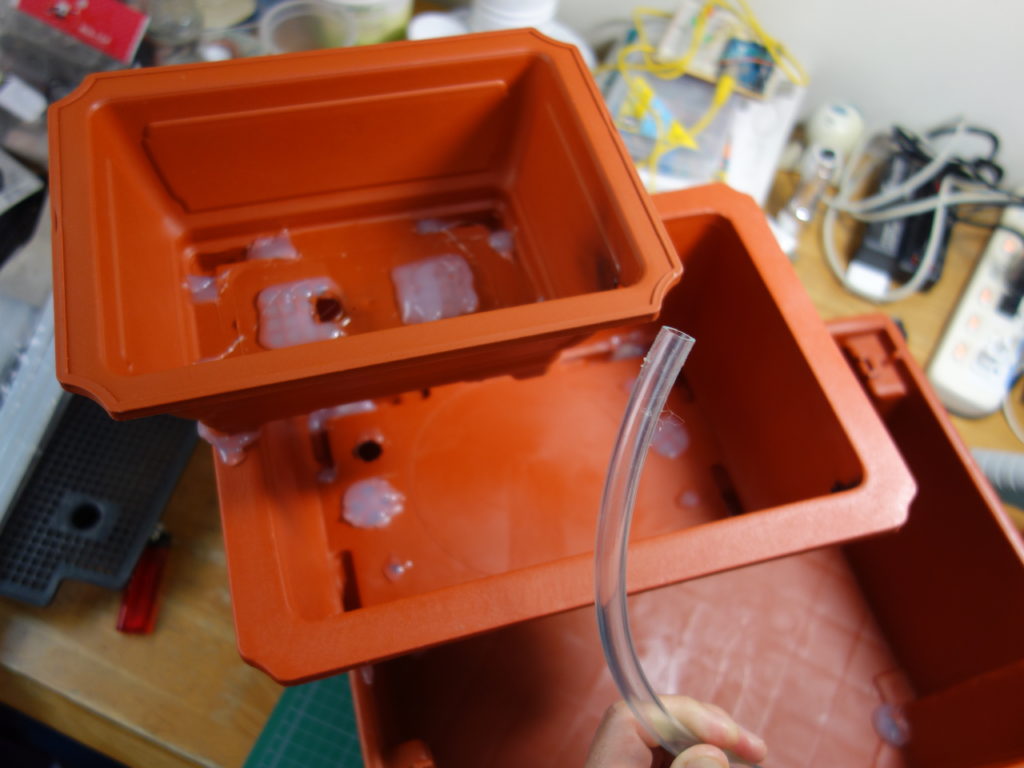
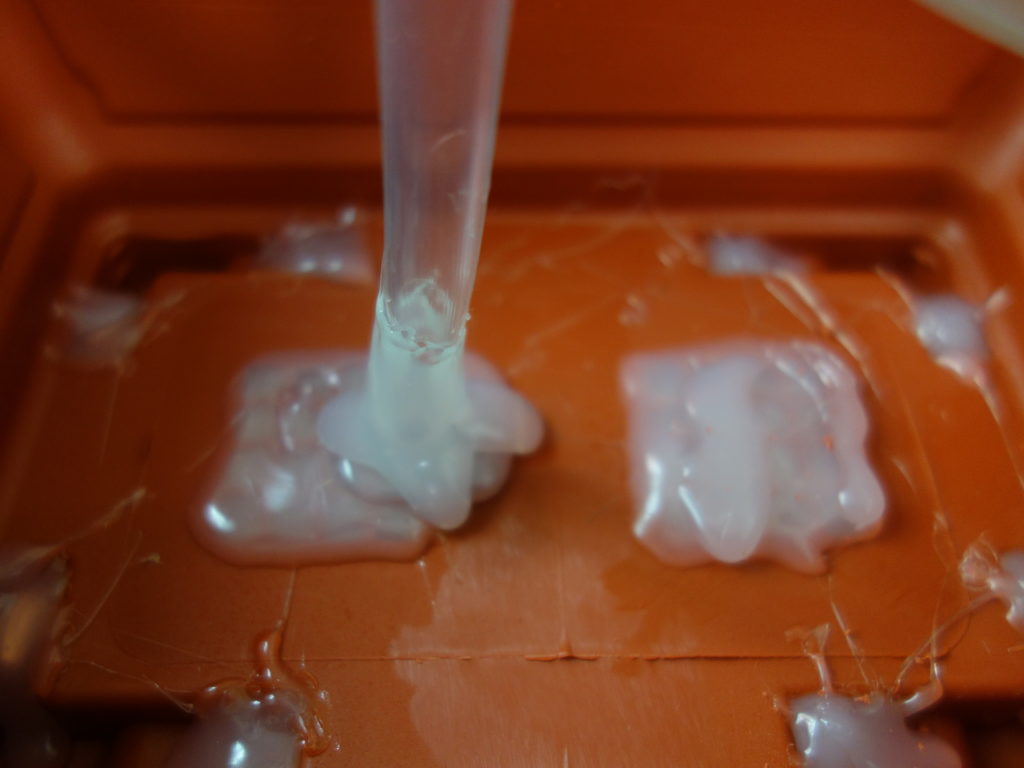
After everything was together, the pump tube was up next. Again, this was secured using, what else? Hot glue!
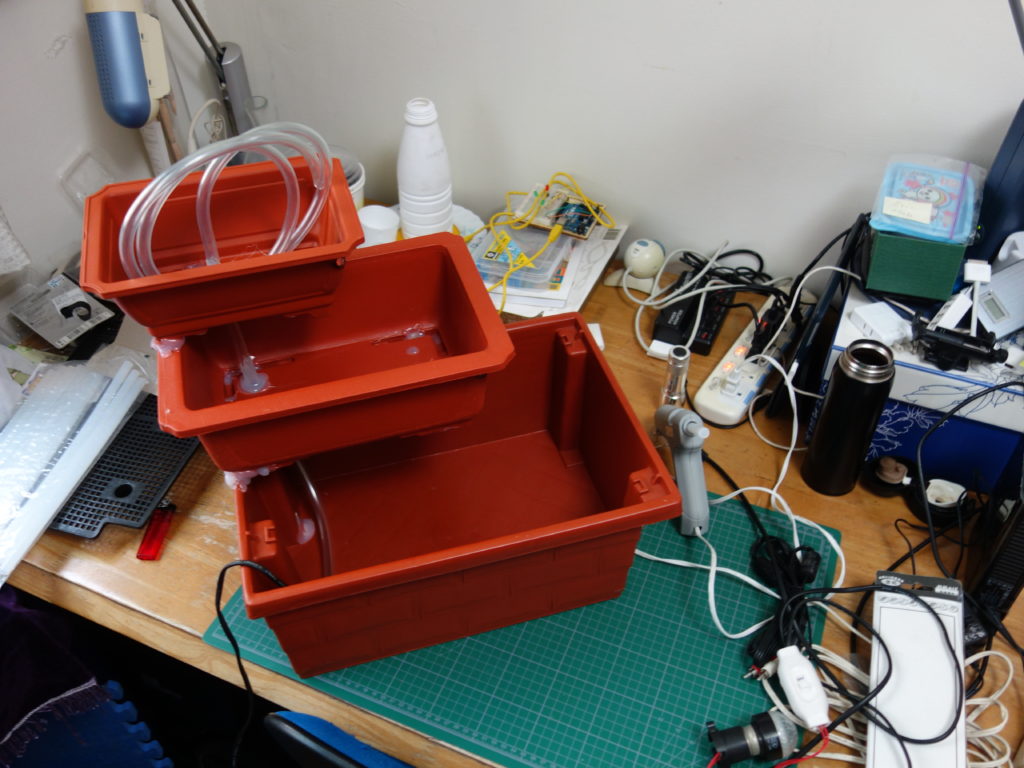
So, now everything is assembled. The next step is to test to see if water actually can circulate in this thing and if there are any leaks!