
Refrigerator Door Repair
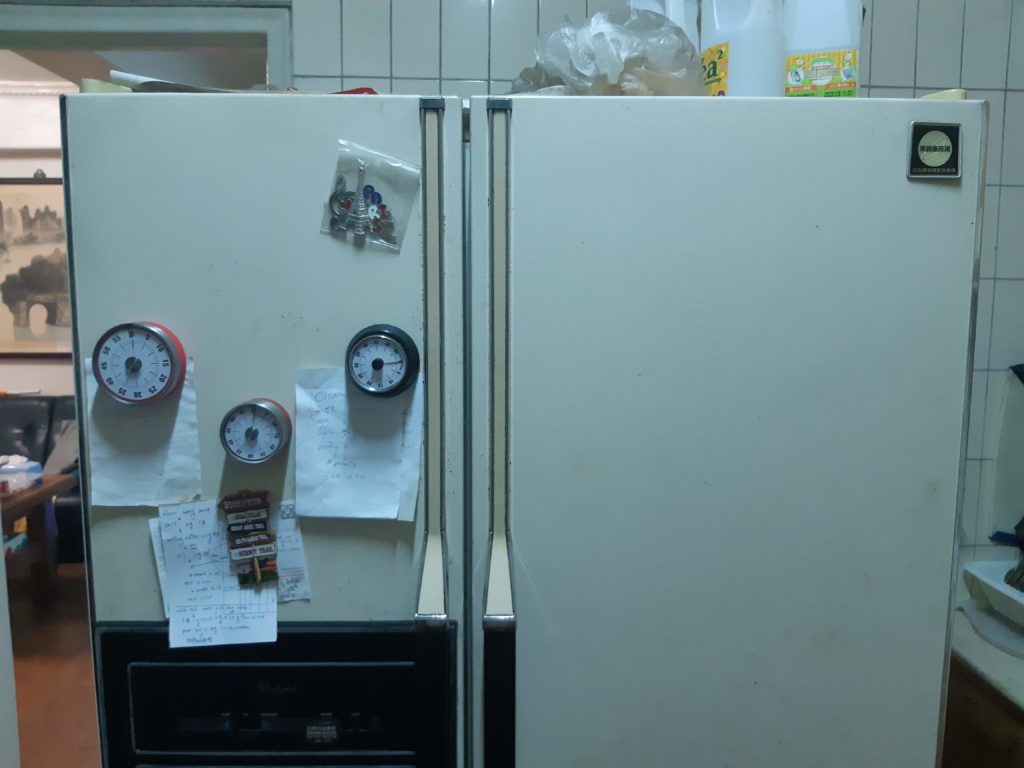
The door on our 30+year-old refrigerator was sagging and it was letting air inside causing condensation near the top.

It was very obvious the top of the door wasn’t flush with the top of the fridge and it wasn’t level with the freezer door next to it.
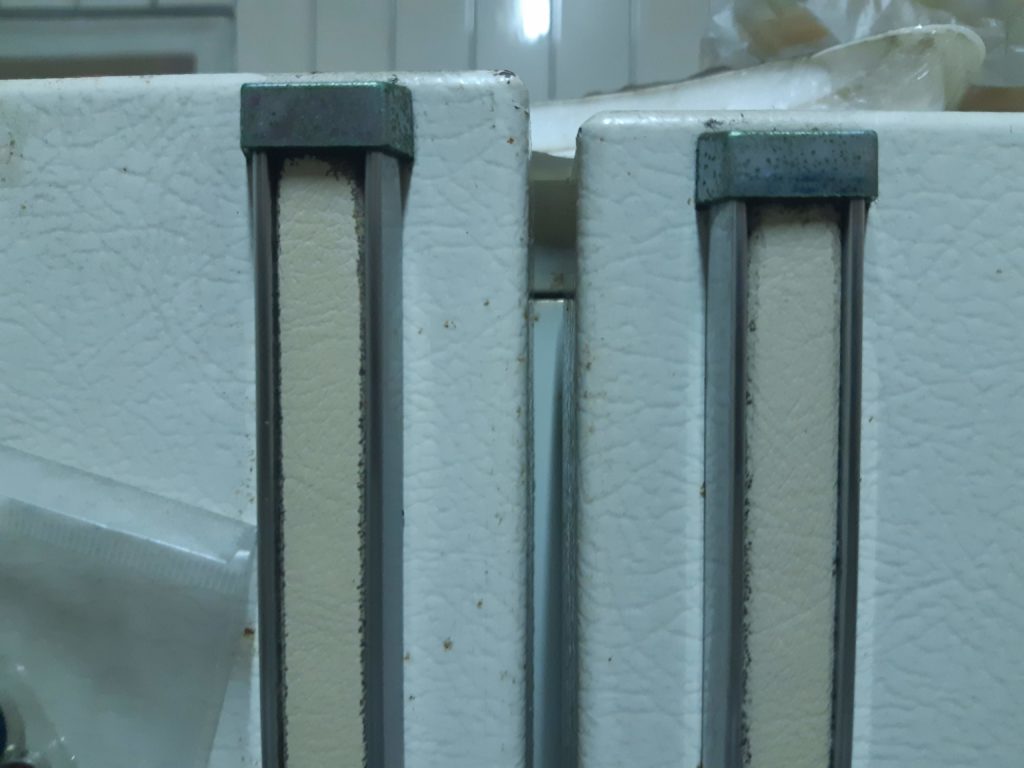
The condensation forming inside was getting bad, so this problem had to be fixed.
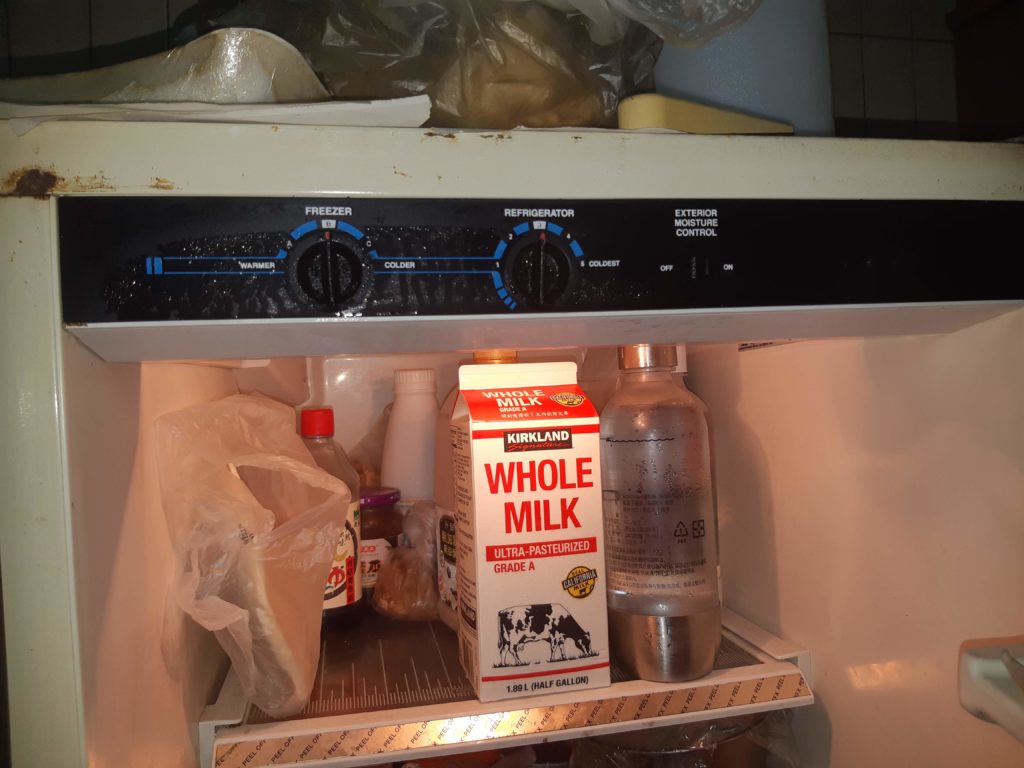
After removing all items from the fridge door, I loosened the top hinge and then removed the door to reveal the bottom hinge.
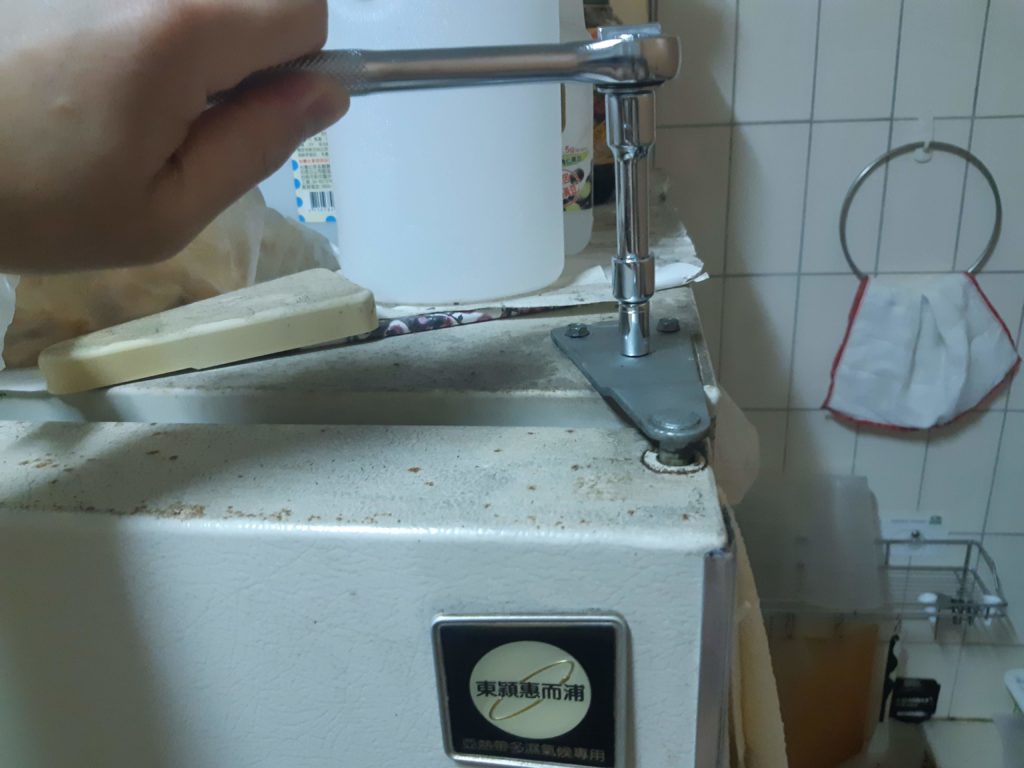
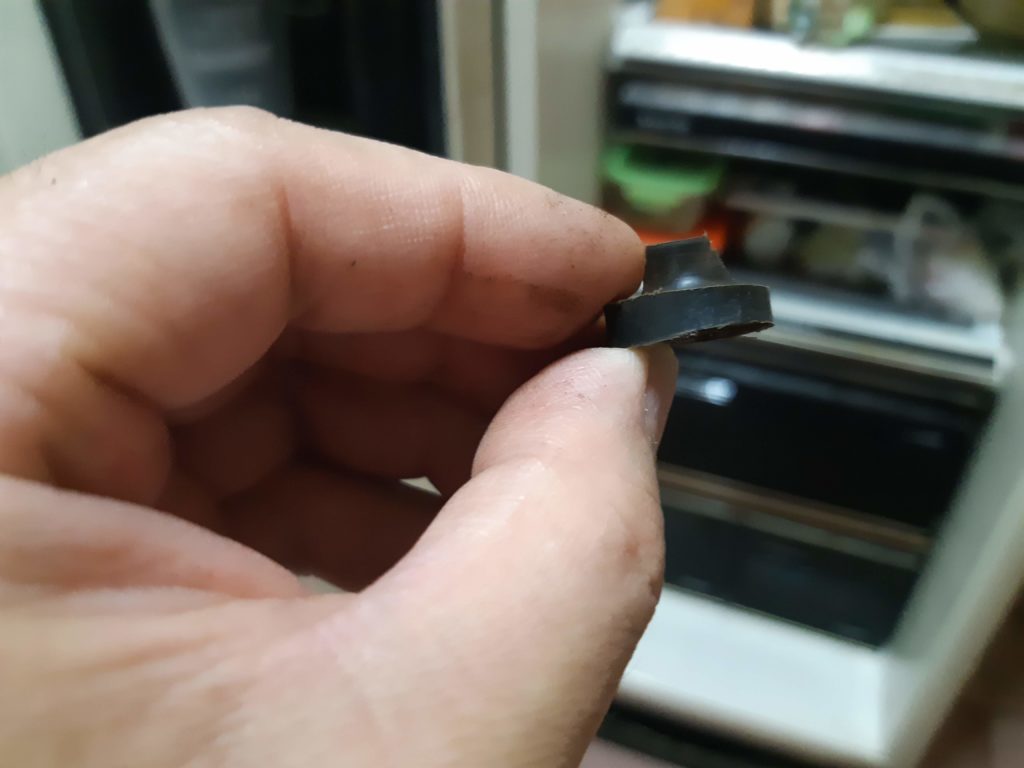
Low and behold, the bushing on the bottom hinge was severely worn.

Please ignore the dirty underside. This fridge is 30+ years old!
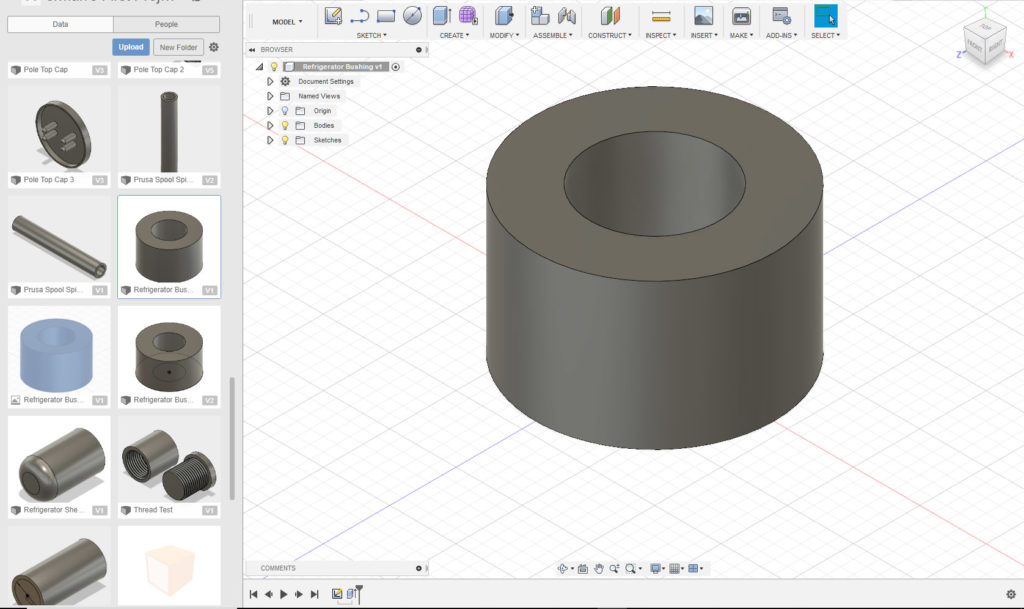
The bushing appeared to be made out of a hard type of plastic. I didn’t have a spare one on hand, but heck, I could make one with my 3D printer! Knew that thing would eventually come in hand one day!
So, after getting some measurements from the old bushing, I fired up Fusion 360 and quickly designed a replacement part.
After some slicing and dicing in a slicer program, it was time to dust of my trusty Prusa 3D printer and print! Since I haven’t used the printer in a few months, the z-axis was off a bit and resulted in a really poor first few layers. Luckily, though, the print went to completion without any problems.
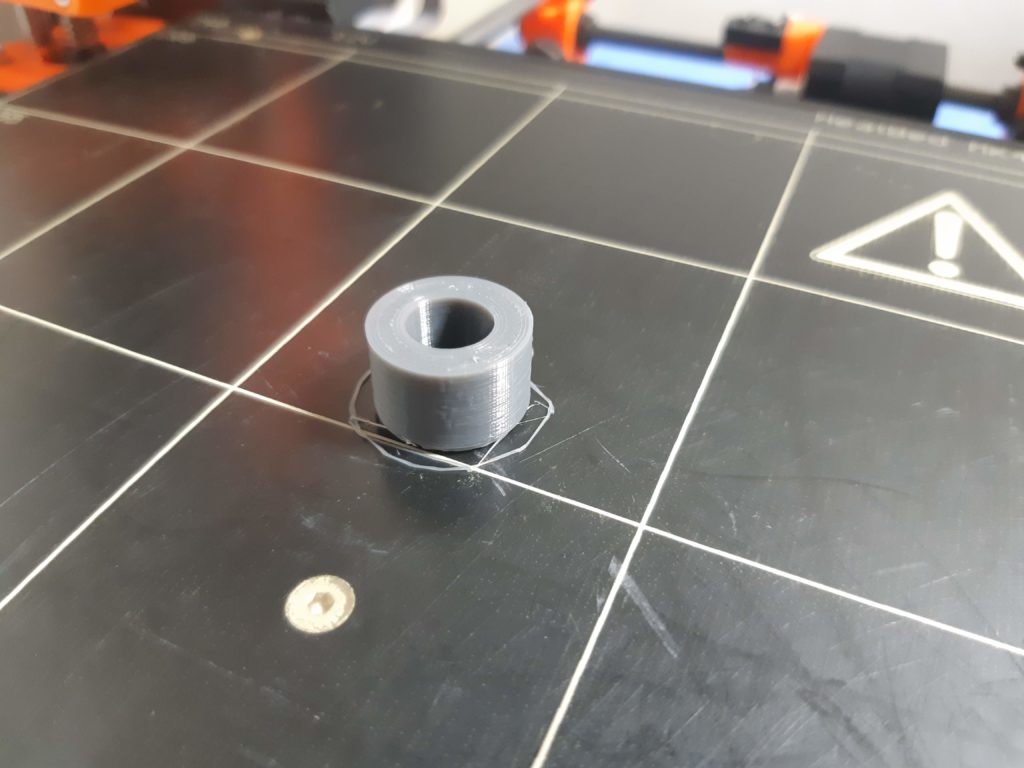
The new part looked pretty close to the original. I had to guess what the original height of the bushing was since the old one was so worn.

I just hope the PLA plastic I used is hard enough to stand up to the stress and wear from the fridge door.
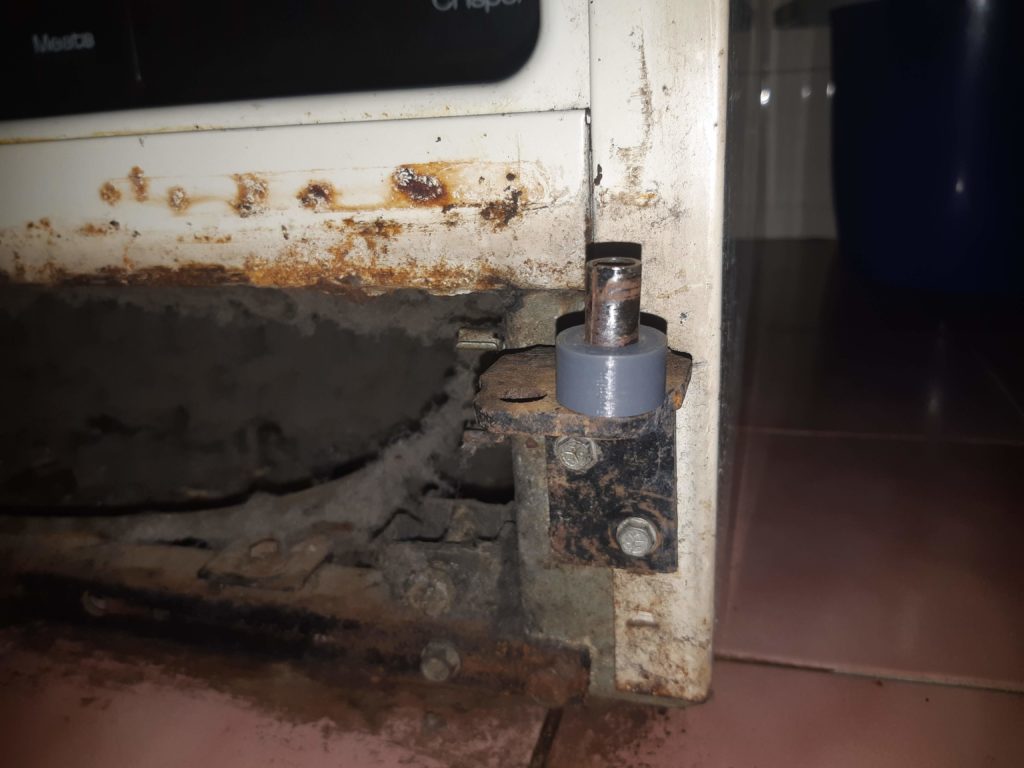
After remounting the door and tightening down the hinges, it was back to being level!
The condensation was much less but there still was a little bit. After looking around the seal, I found a small hole. After patching with some silicone sealer, there was no more condensation.

Now the fridge door closes level and water no longer condenses on the inside!